1
Sign Up
On a new tab, navigate to the Morphik website and click the “Get Started” button on the top right.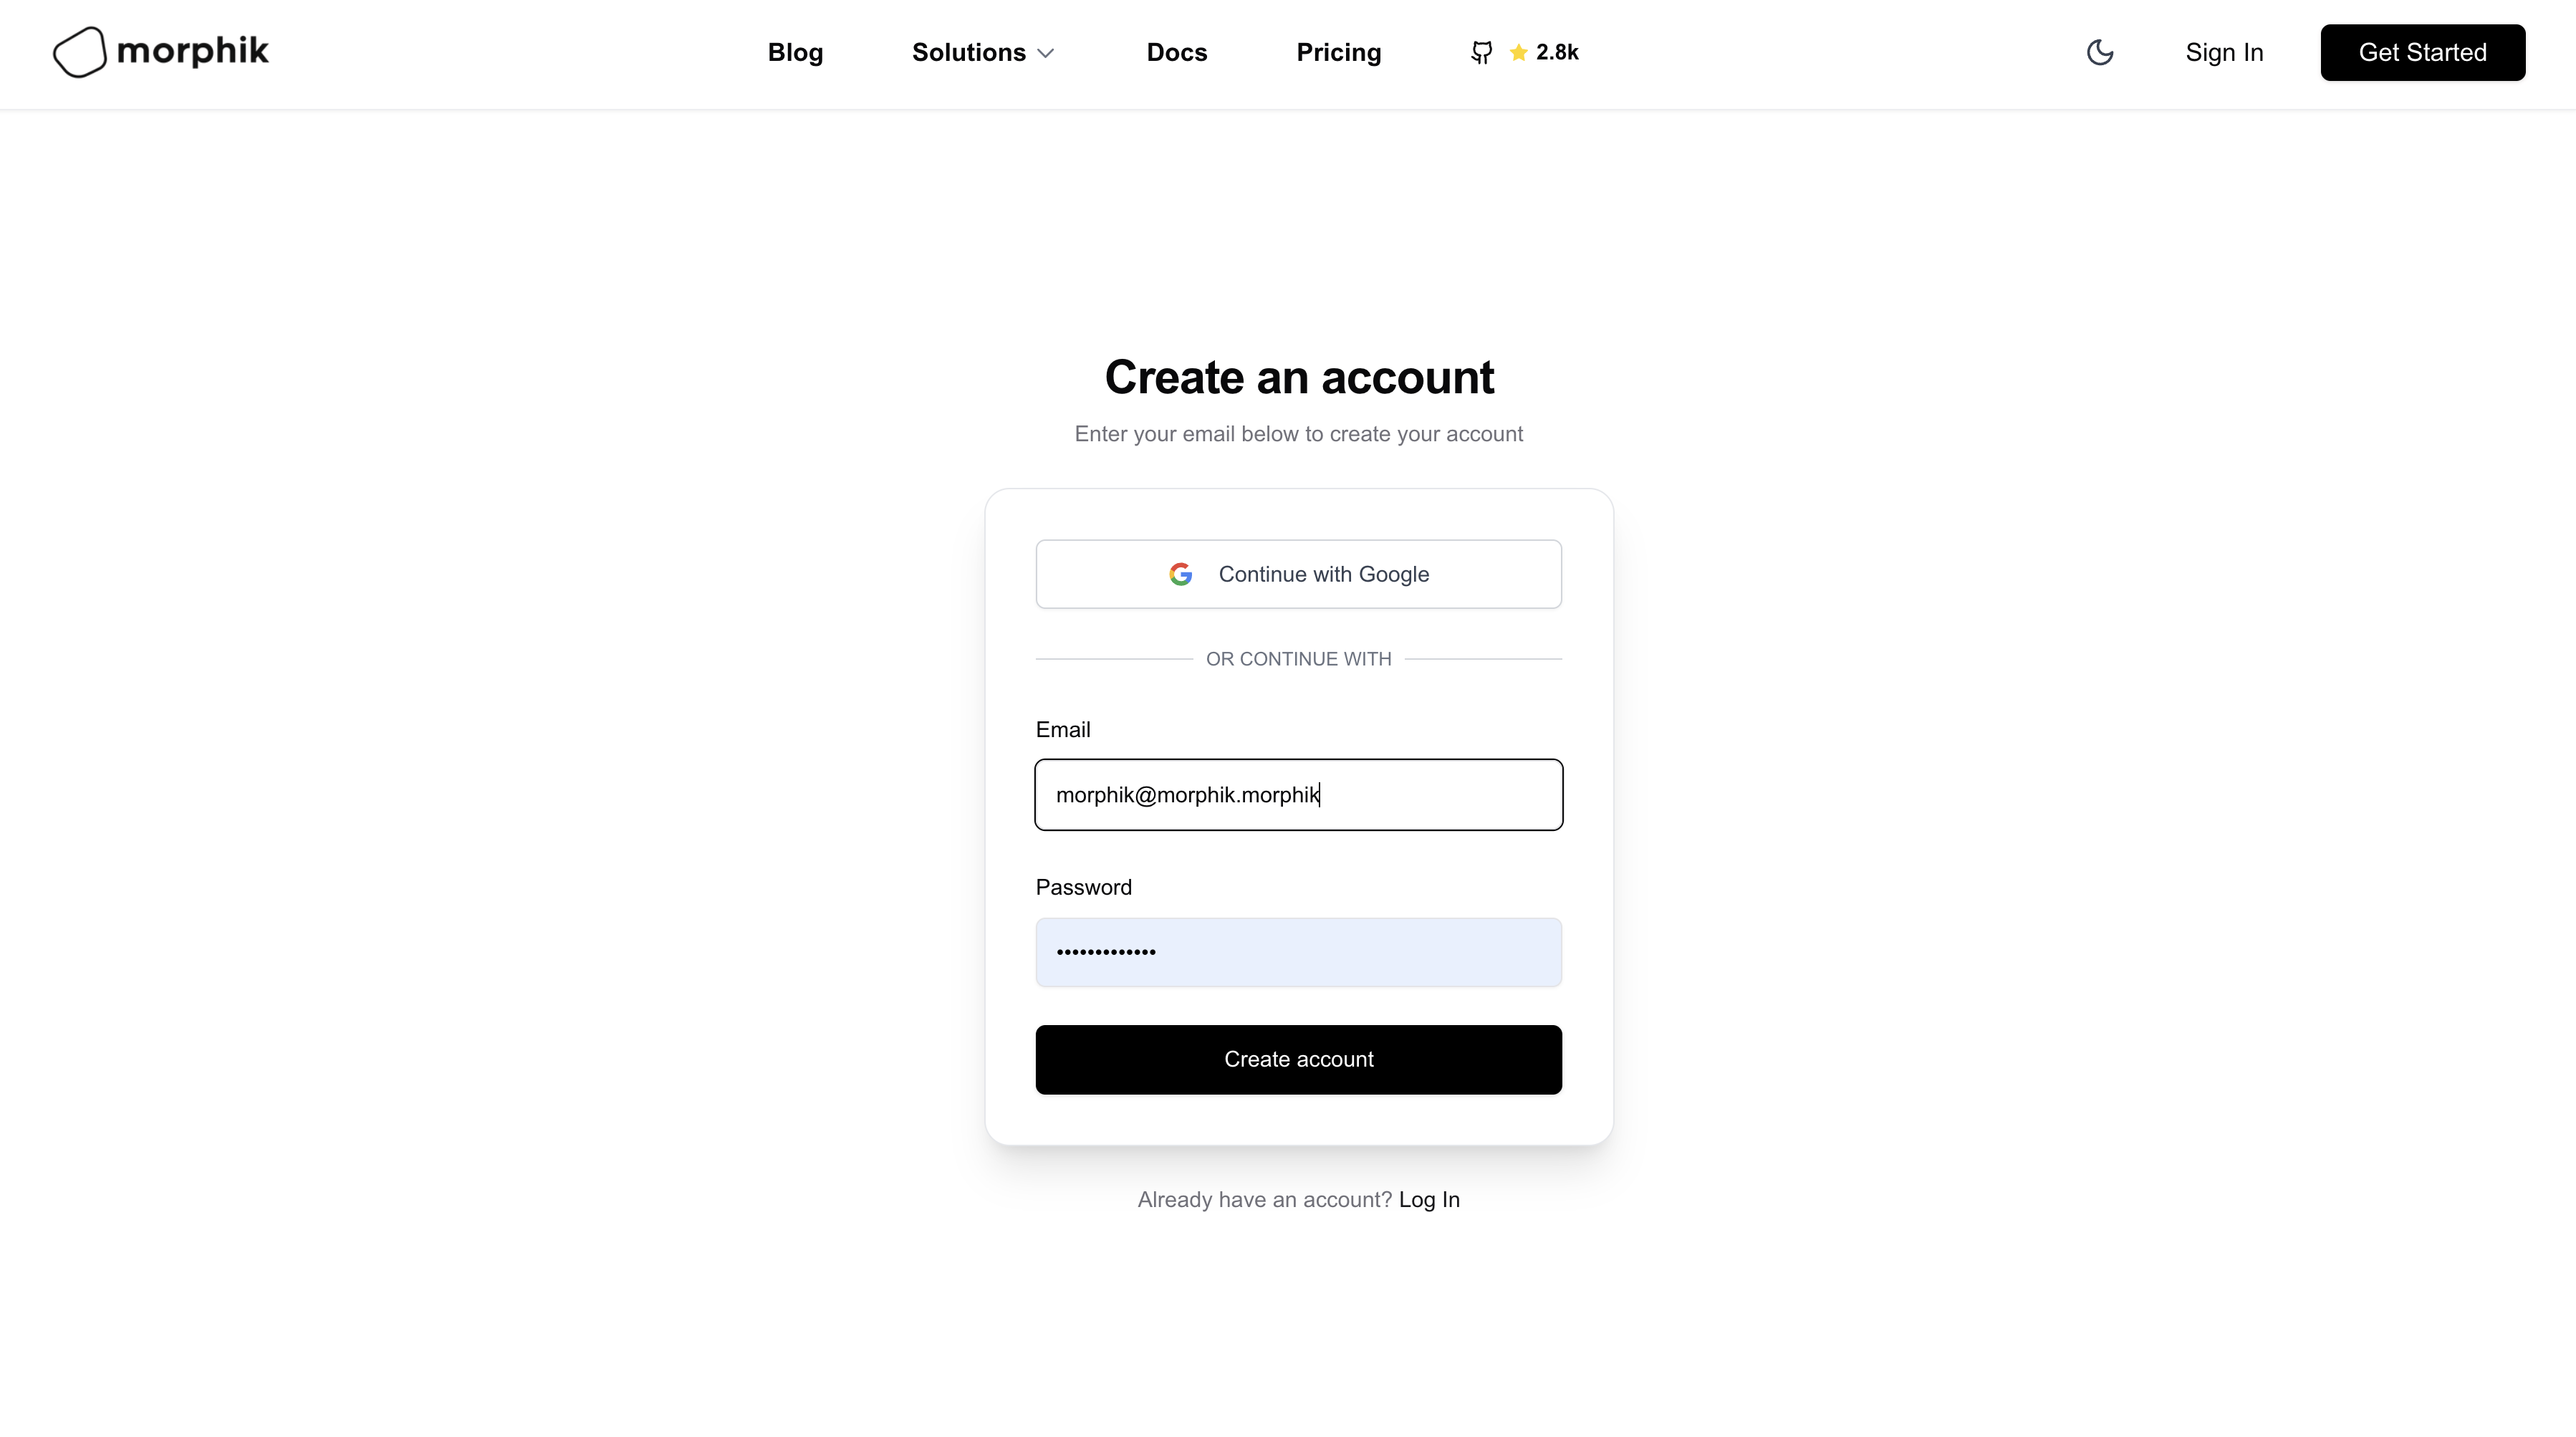
2
Create Application
Once you have signed up, you will be redirected to the Morphik Cloud dashboard. Click the “Create Application” button to create a new application. Enter your app name and click “Create Application”.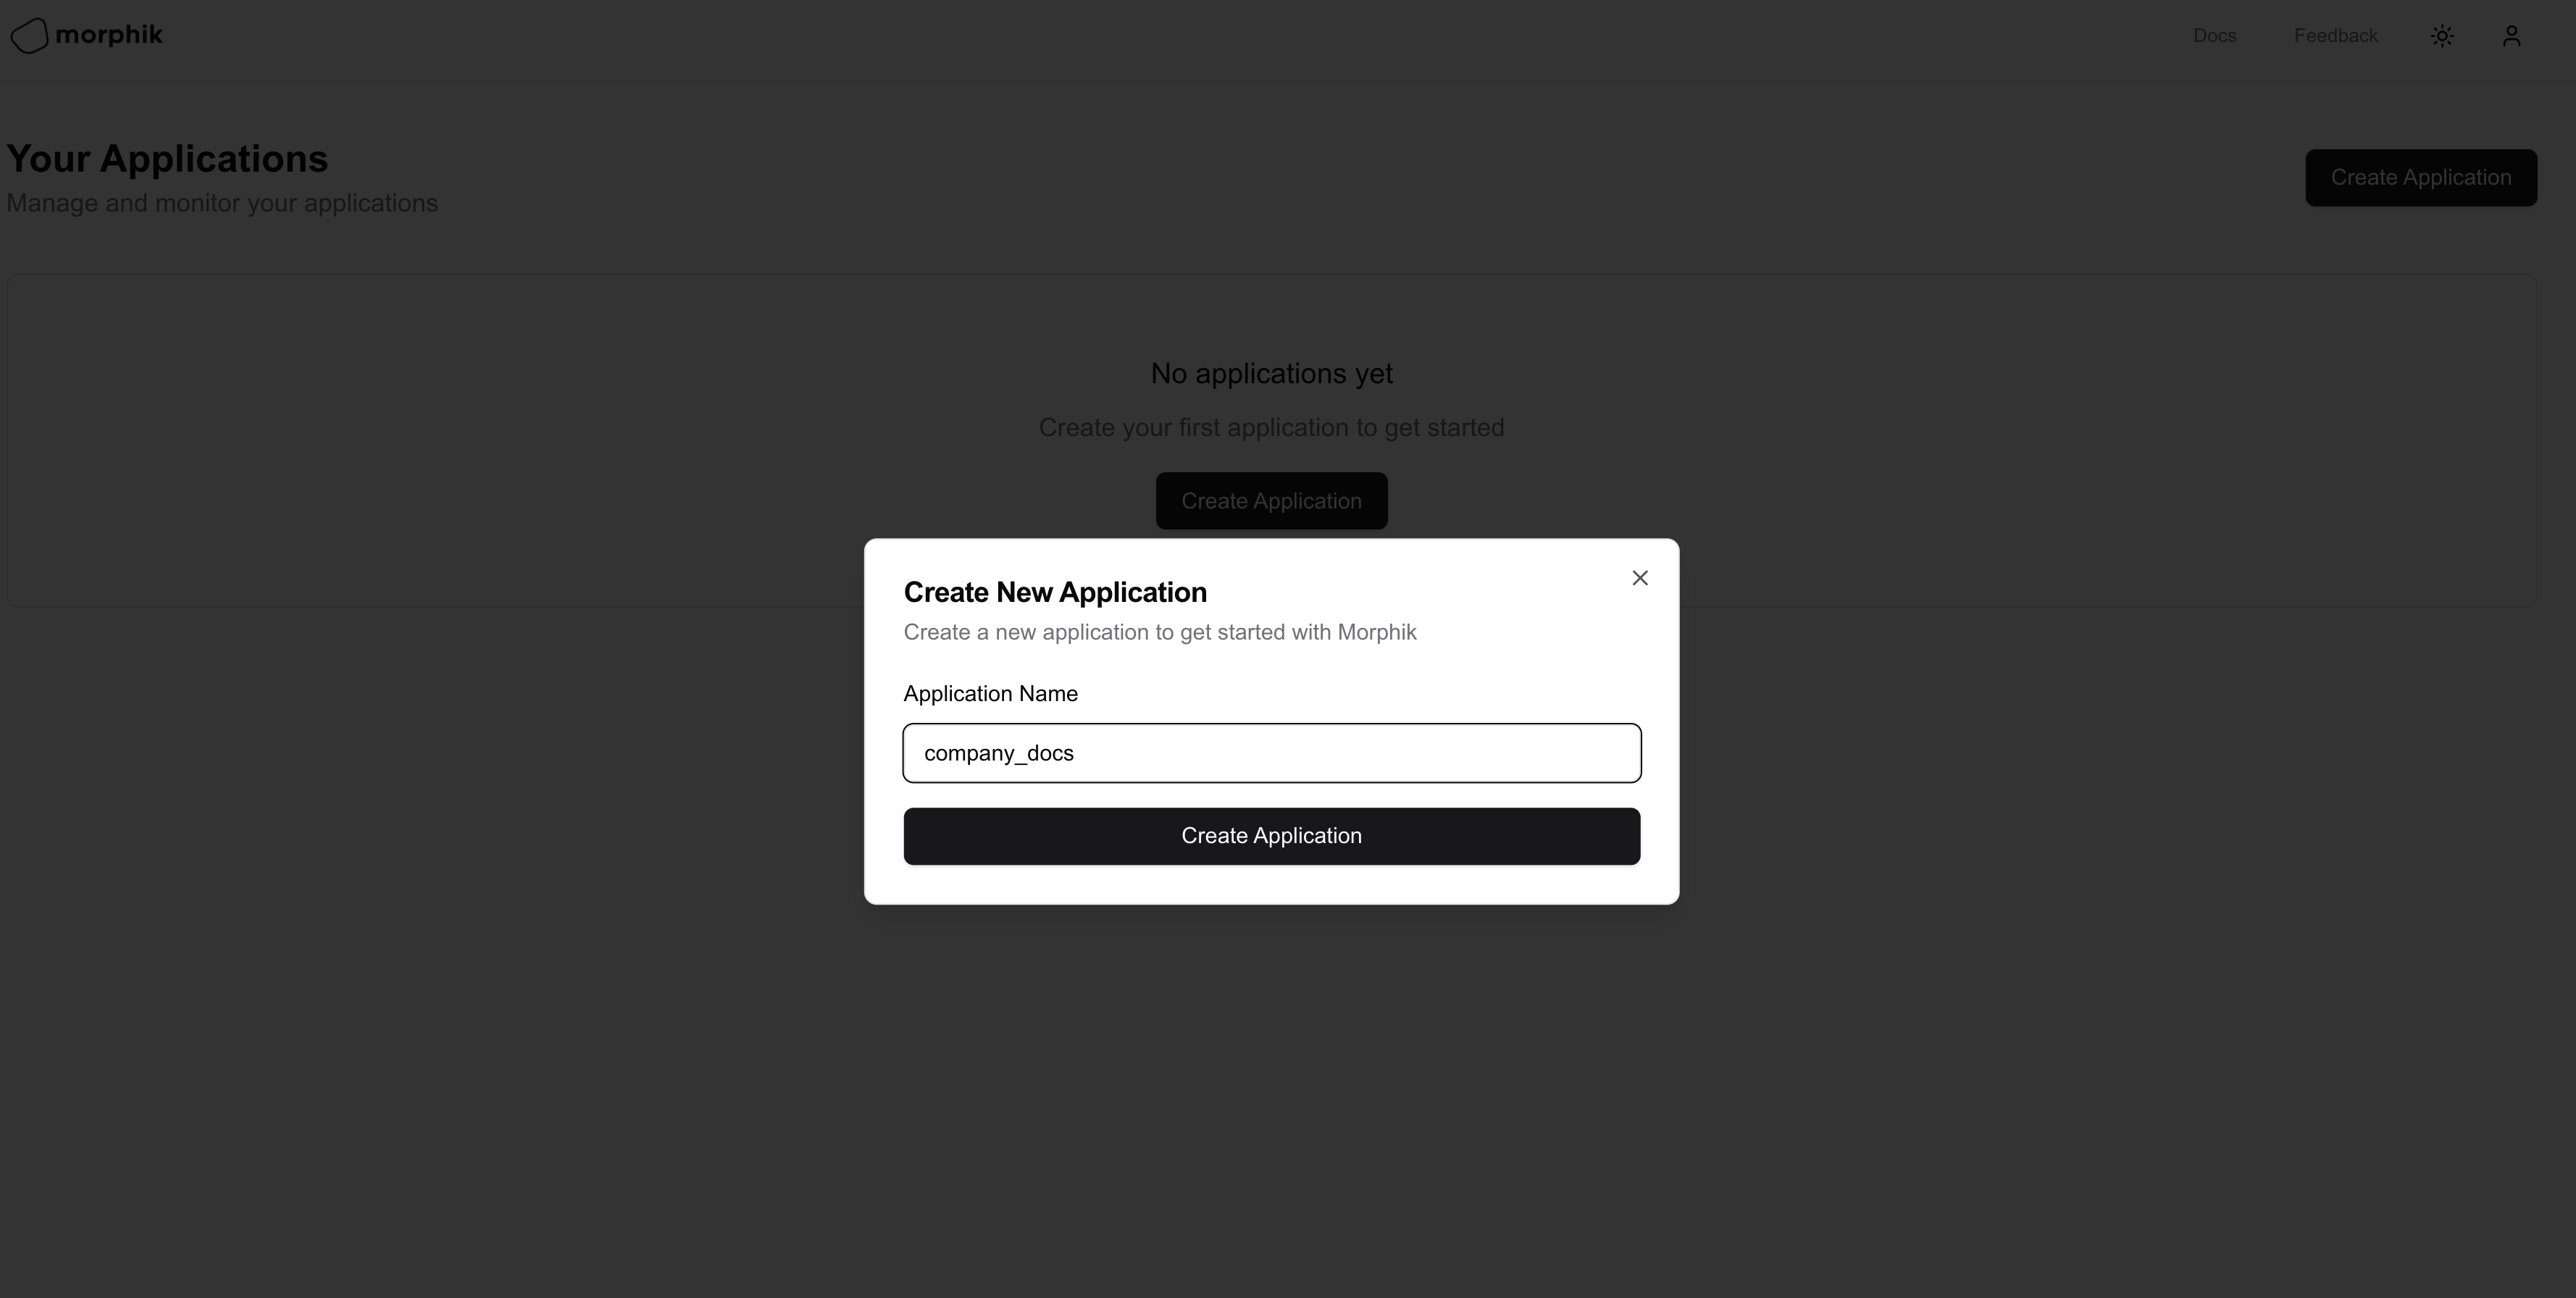
3
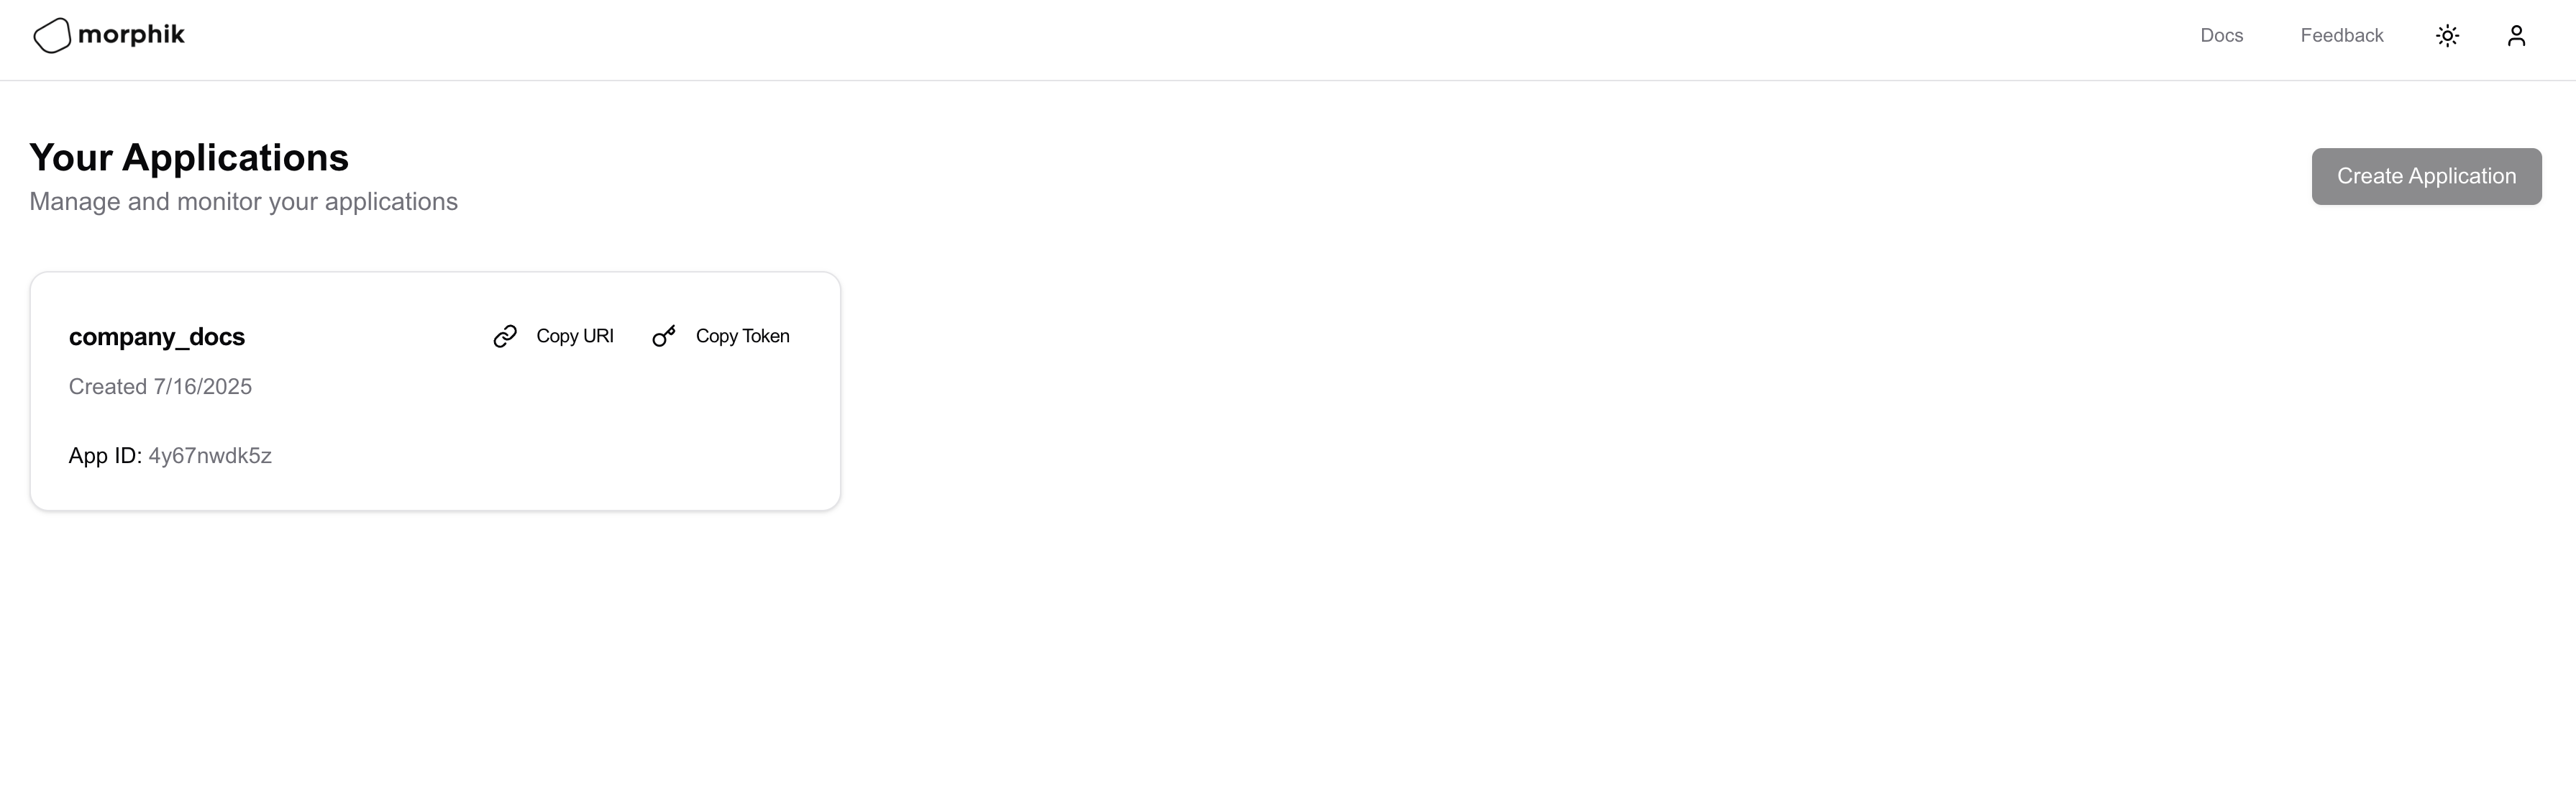
Copy your credentials
You should now see your application in the dashboard with “Copy URI” and “Copy Token” buttons:
- For Python SDK: Click “Copy URI”
-
For TypeScript/API: Click “Copy Token”
Using Morphik
While most users integrate Morphik into their applications via our SDKs and APIs, we also provide a comprehensive web interface that serves as both a playground and management console.Morphik Web Interface
The Morphik web interface provides a complete view of your application:
- 📄 Browse and manage all your documents and folders
- 💬 Use the Chat and Agent for interactive queries and complex tasks
- 🔗 Visualize Knowledge Graphs to understand document relationships
- 📊 Monitor logs and track API usage
- 💳 View billing and usage details for your account
- ⚙️ Configure settings and manage your application
Using Morphik via Code
For production use, you’ll want to integrate Morphik using our SDKs or API:- Python SDK
- TypeScript/JavaScript SDK
- Rest API
- MCP
1
Create a virtual environment
2
Activate the virtual environment
3
Install the SDK
4
Ingest and Query your first file
Community Support
We have an open community with lots of discussion where you can get help, report bugs, and share your experiences with Morphik. If you need assistance or want to contribute, please join our community!Join our Discord
Get help, report bugs, and connect with other Morphik users.
Next Steps
Now that you have the server running, you can explore the different ways to interact with the server.Configure Morphik
Configure Morphik using the
morphik.toml file.API
Use the API to interact with the server.
Python SDK
Use the Python SDK to interact with the server.
TypeScript/JavaScript SDK
Use the TypeScript/JavaScript SDK to interact with the server.